

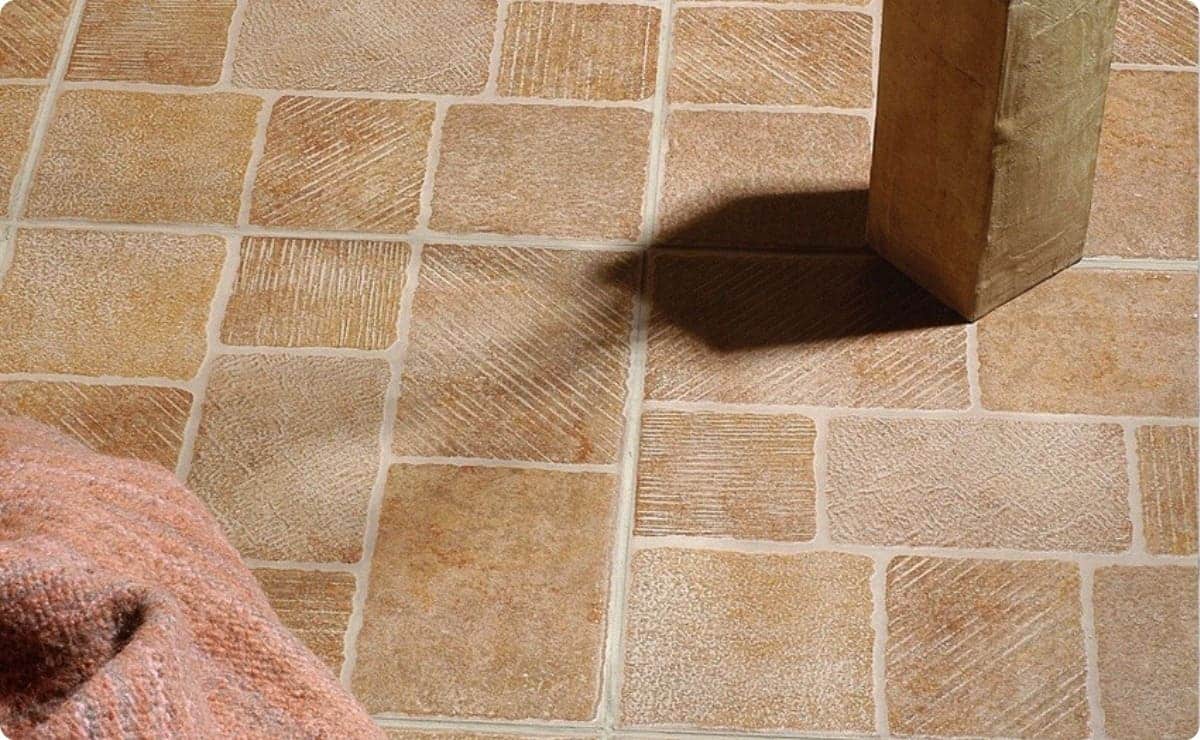
Much of our focus is on washing and cleaning the floor correctly, but What about the forgotten ones together? It is no secret that, as time goes by, stains and dirt accumulate in the joints of the ground, which means that no matter how much let’s clean up the floor with cleaning products we find it, it doesn’t look impeccable.
Yes, it is a complicated part to whiten, and dirt gets lodged and encrusted in this area if it is not cleaned properly and often. Given how laborious it is and the constant hassle it causes (especially for ceramic floors), we have prepared an article detailing how to whiten black base joints with inexpensive and effective homemade tricks.
How to clean black joints in the floor
Recovering the beauty and distinction of the floor and, at the same time, preventing the proliferation of bacteria is a somewhat daunting task that never ends in the daily cleaning of a home; you know it, I know it. Everyone knows it (even if they try to ignore it). So, stop spending hundreds of euros on products that take the shine off your floor and try some of these techniques to clean your floor joints and leave them sparkling.

If cleaning does not work a Grout
If you have already tried all the methods and none of them works, there is nothing left to do but to whiten the joints with grout, yes, the same grout used to fix bricks and ceramics. Although it is a drastic and very effective alternative, there is no doubt that applying it can be somewhat difficult, which is why it should be implemented if the stain is impossible to remove and the deterioration is extreme. However, the floor will be as good as new, and it will be worth it. These are the steps to follow:
- Using a small chisel (and being very careful not to damage the tiles), remove the old grout from the joints.
- Collect the residue and dust generated when removing the grout from the joints with a brush and shovel.
- Perform grout mixing according to the manufacturer’s instructions on the product packaging.
- Apply a layer with a spatula on the joints and let it stand for one hour.
- With a damp sponge and disinfectant, rinse to clean the tiles of debris.
- Finally, finish with a protective sealant over the joints. Although this is an optional step, the grout will last longer and will be less messy.
Powerful cleaner: Ammonia
Have you ever heard of ammonia? It is a colorless substance with a very intense odor, known for its great power to remove stains and kill bacteria without much effort. Here is the process for cleaning floor joints with ammonia in a couple of steps:
- In addition to protective gloves, on this occasion, you should also wear a mask, as the odor is quite strong.
- In a large container filled with water, dilute 30 ml of ammonia and mix well.
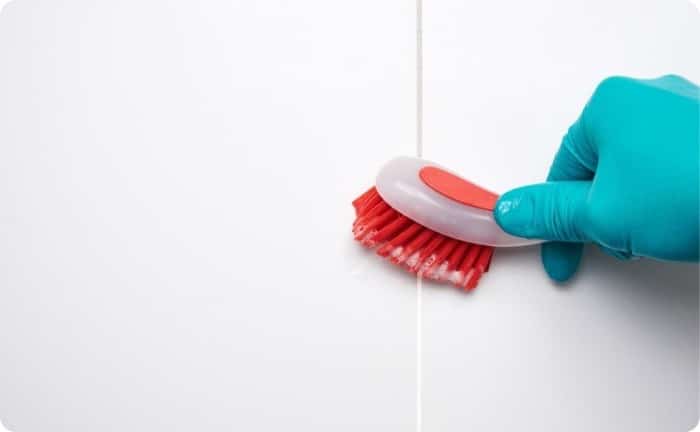
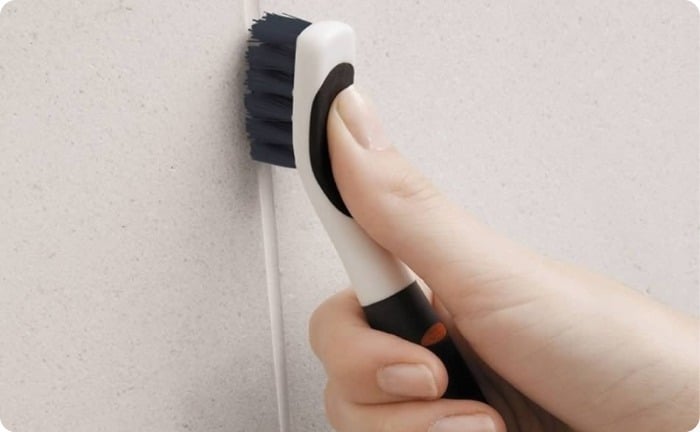
- Using a toothbrush or sponge, scrub the grooves with this mixture until the dirt is loosened and the stain is removed.
- Wash with plenty of hot water, neutral soap, and scrub to remove ammonia.
Classic and safe: Etching
It is a chemical product frequently used in the toilet since it softens and removes stains with remarkable efficiency. This is due to the nitric acid in its compound, which stains and disinfects heavily soiled areas.
Do not forget to wear gloves, a mask, and, if possible, goggles, as this liquid is aggressive and can cause allergies. This is the procedure for cleaning joints with etching:
- Scrub the floor, wall, or surface to be cleaned with neutral soap and plenty of hot water.
- Drain the water well and let it dry by itself for a few minutes.
- Carefully pour the etchant into the joints (without soaking all the ceramic) and let it take effect for about 5 minutes.
- When you notice bubbles and foam forming, it’s time to act! Rub joint by joint vigorously with the help of a toothbrush until all the dirt and stains are removed.
- To finish, rinse the joints with a damp sponge and dry with a cloth the scattered remains to leave everything impeccable. It will be sparkling!
Remember: It is recommended to use this trick sporadically and only when the dirt adhered to the joints did not come off with any of the above mentioned. As its name suggests, it is very strong and can cause the ceramic or tile floor to deteriorate and become opaque.
The queen of bleaching products: Bleach
Indeed, bleach is an unprecedented bleach and disinfectant, passed down from generation to generation, and is almost indispensable for deep cleaning and removal of stains, mold, mildew, grease, germs, and bacteria in the home. However, it should be handled with special caution, as it has a strong odor and is very corrosive. Do not forget to wear gloves and a mask to protect yourself and avoid contact with skin or eyes.
- In 1 liter of water, dissolve 30 ml of bleach.
- Place the mixture in a spray container or apply the liquid directly to the joints with a sponge.
- Rub energetically with a toothbrush or clothes brush.
- Allow it to take effect for approximately 10 minutes.
- Finally, wash with water and disinfectant and dry.
Warning, dangerous! never mix ammonia with bleach, it produces an aggressive toxic reaction.
The old reliable: sodium bicarbonate of soda
Our grandmothers used this element for everything from home remedies to relieve aches and pains to cleaning various places in the house. And although it may be hard to believe, it is also an excellent ally for cleaning multiple materials, one of them being the tiles and their joints in various rooms, including the bathroom and kitchen. By combining its effect with hot water, you will notice how the adhering dirt is loosened and is free of stains and germs. These are the steps to clean the floor joints and walls with baking soda:
- Protect your hands with multipurpose gloves.
- Wet and scrub the surface with plenty of hot water and add baking soda generously between the grooves.
- With a toothbrush, clothes brush, or sponge, scrub the joints vigorously until the dirt comes out.
- Clean the sediments from the surface with a scouring pad soaked in warm water.
- Finally, dry the entire area with a soft cloth.
An environmentally friendly disinfectant: White vinegar
Another award winner in this list is white vinegar, widely used for cleaning floors, bathrooms and kitchens together. In addition to being a powerful cleaner, it is a great ecological disinfectant, which is why it is recommended because it avoids using chemical products and is low cost. To use vinegar when cleaning floor joints, here is the procedure:

- Mix half a cup of warm water and 250 ml of white vinegar in a spray bottle.
- Spray the mixture into the grooves of the tiles or ceramics and let it act for 15 to 20 minutes.
- Scrub the joints vigorously with a toothbrush or sponge.
- Finally, wash with hot water and detergent and dry well with a tissue.
A plus: For even more effective results, you can combine baking soda and vinegar to make a more powerful dirt-getting combination.
Try any of these cleaning methods for joints and baseboards of ceramic tile floors in your home and remove all the dirt and stains. Remember to clean the floor at least once a week, so the grooves do not accumulate too much dirt for a long time. Good luck!