
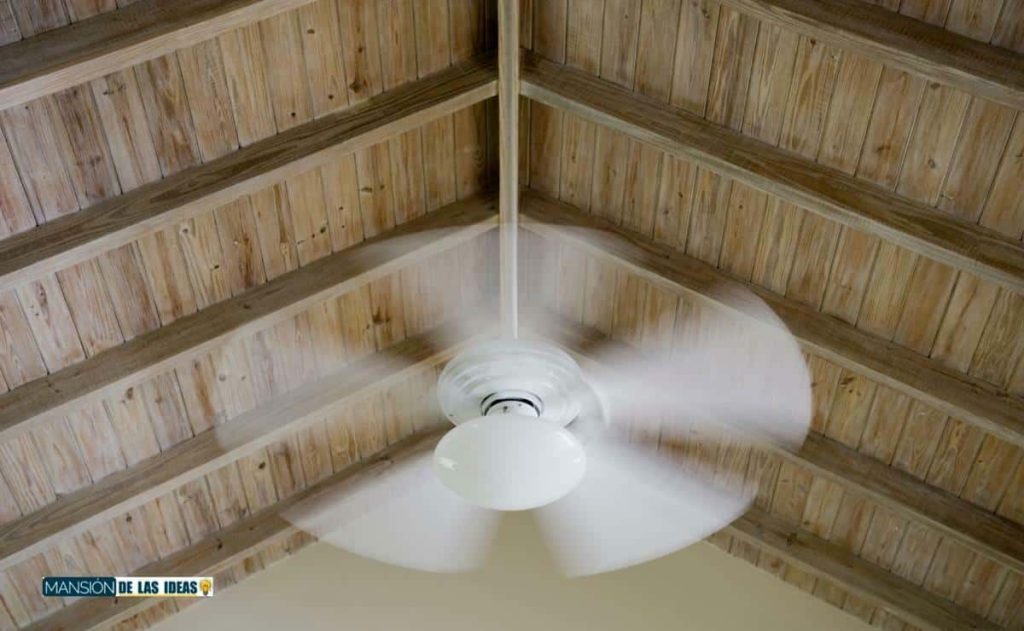
The ceiling fan is a very complete appliance, since it not only serves to cool the residents of a house during the hottest periods of the year, but also to better ventilate the interior of the house throughout the year, regardless of the season.
In addition, it is a more economical and accessible solution for many than installing an air conditioning system, and, besides, it is very easy to clean and maintain. Below, we will give you guidelines on how to hang a ceiling fan yourself.
How to choose the most suitable fan
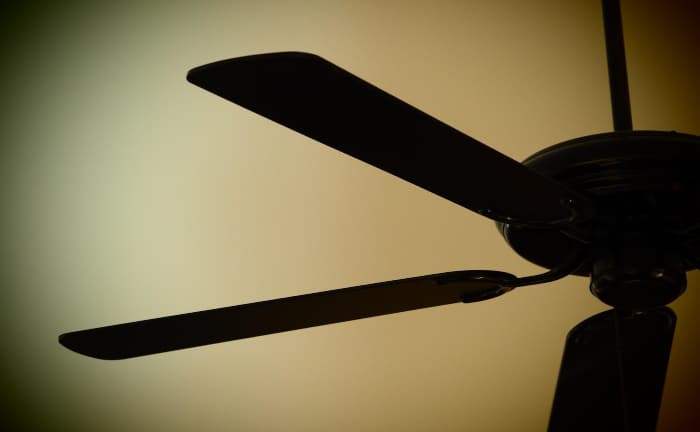
Not just any fan is suitable for any room, and that is why you should know the selection criteria to avoid making a mistake when choosing the fan you will hang. The first and most basic thing you need to think about is the size of the room you want to acclimate. The larger the size, the more blades with a larger diameter the fan will need to have. In this way, the device will be able to move a greater amount of air with less revolutions.

You must also be clear about the type of ceiling in which you want to install it, because not all are the same. You must know what type of slab you have and its condition. In general, it must be in a condition to be able to anchor dowels and screws, which will be used to hang the fan so that it stays fixed and does not fall. If the floor slab is not in very good condition, you can use chemical dowels to screw the fan support.
How to install this device on the ceiling
The installation of a fan is not overly complicated. With a little time and patience you can do it on your own without much difficulty. Follow these steps properly and you will succeed:
Mount the blades
When you buy a new fan, it comes in the box with the blades removed, so the first thing you should do is to form it. Put them in place and tighten the screws that fix them.
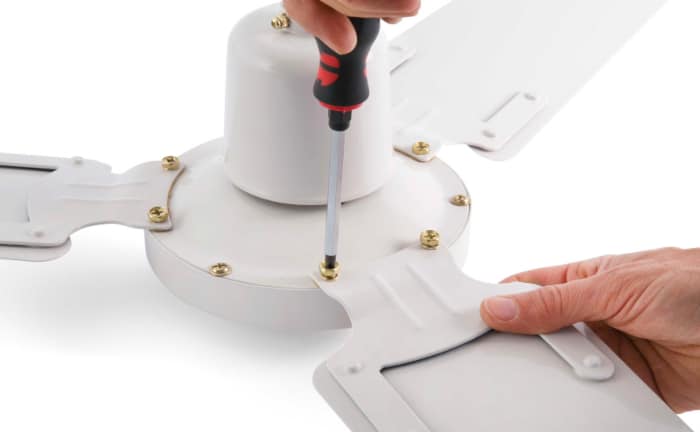
After that, you need to attach to the structure of the fixture the so-called lighting soffit, a type of modern ceiling lamp made with LED lights and providing brighter and more intense light. Tighten the corresponding screws and you are ready.
Sets the fan support
Once it is assembled, it is time to decide where on the ceiling to hang it. Mark with a pencil the points where the dowels you will use to do it. Keep in mind when choosing the site that the fan also has a very powerful light.
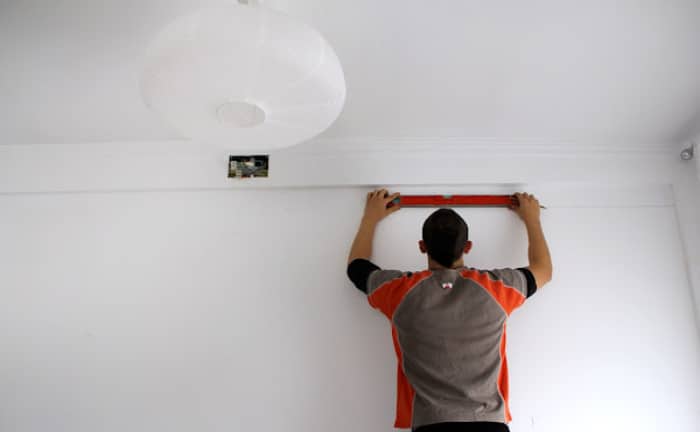
As it can serve to illuminate the entire room where you place it, it is best to place it in the center of the room in question. It is the most logical and coherent decision you can make.
Mount this bracket
Once you have marked the drilling area with a pencil, use a drill and a drill bit with a thickness equal to that of the dowels to be installed to open the corresponding holes.
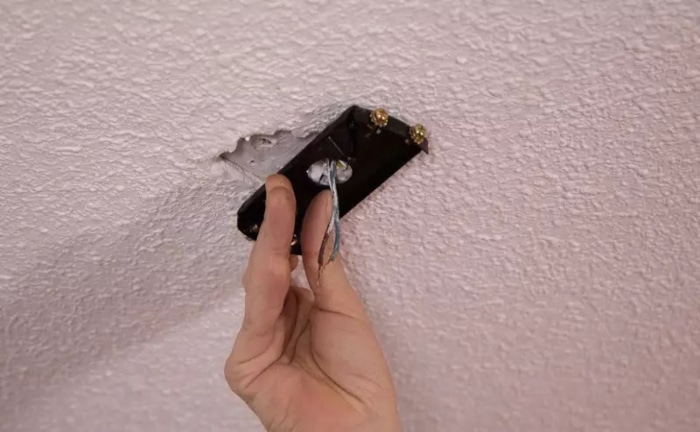
Subsequently, you have to insert a rocker arm tipping block in each hole and fix the bracket with screws. Screw the bracket tightly until the dowel is securely fastened to the ceiling so that it does not fall out.
Make the relevant electrical connections
Before doing so, you should turn off the power to avoid electrocution or similar problems. When you have done this, you have to connect the wires from the device holder to the wires from the ceiling socket.
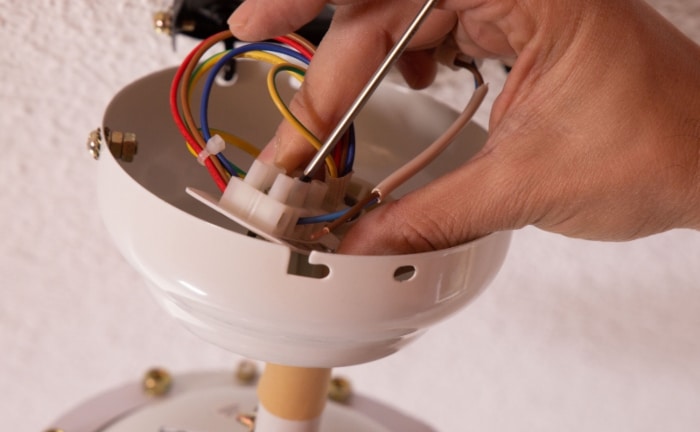
For this task you have to connect three wires in total: the phase wire, which is usually black, gray or brown; the neutral wire, which is blue; and the ground wire, which is usually yellow or green.
Let’s hang it up!
Place the fan mounted on the hook included in the bracket. Then, you have to connect the terminals and the receiver of the remote control, so that you can activate and deactivate it comfortably. Also be sure to secure the housing with side screws.
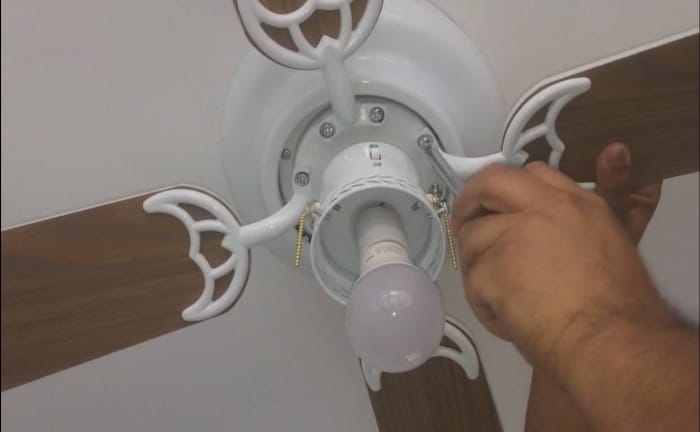
The housing is used to hide the mechanism of the device, as well as to prevent it from falling off. Once you have completed all the steps properly, test to see if it works. If not, check the system to find out where the fault may lie.