
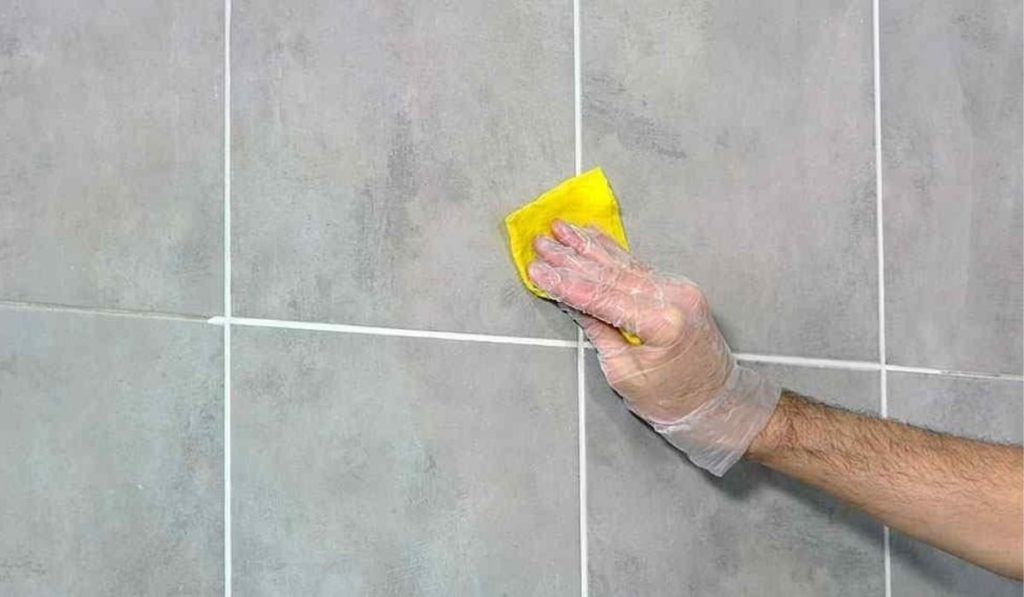
Tiles and ceramics are an area that gets dirty all too easily, especially in the kitchen or bathroom – a real nightmare! But there is one part that is even worse: the seals.
These grooves are the space between one tile and another and are filled with a material called “grout”. Here, with the passage of time, dirt from shoes and constant mopping, dirt lodges and sticks like chewing gum to the hair, making it look unsightly, and with it, giving room for bacteria and germs.
We previously revealed the best tile cleaning tricks, but if you’ve come this far looking for facts and resources to learn how to clean tile grout effectively, you’ve hit the mark! Read on and learn the infallible tricks to make whitening them a breeze.
How to clean and whiten tile grout joints?
Although it may seem like an impossible mission to make the gaskets white and look spotless (since it’s no secret how quickly they get dirty), there are some simple and inexpensive tactics to clean them and make the ceramic coating of your walls or floors look spotless.
Cleaning tile joints in an environmentally friendly way
If your intention is to apply natural, non-toxic and more affordable ingredients, you can use household cleaners that you may have on hand in your pantry, such as white vinegar, the incomparable baking soda, lemon juice and hydrogen peroxide. Likewise, you can help yourself at the end to completely disinfect and eliminate mold and mildew with ammonia or bleach.
How to whiten tile grout with baking soda?

- Mix a little hot water, the juice of a lemon and baking soda until a homogeneous paste is formed.
- Apply to dirty joints and scrub vigorously with a sponge or toothbrush (or something else that is useful for removing dirt).
- Leave on for 45 minutes and remove with a wet cloth.
Cleaning tile joints with white vinegar
This component contains a substance called “acetic acid”, which is highly recommended for cleaning various areas of the home. It is an ecological all-purpose cleaner, with disinfectant, antifungal, moisture neutralizer, polisher and stain and mold remover qualities, making it ideal for tile grouting.
- In a glass full of white vinegar, add a little dishwashing liquid soap and mix.
- Rub this mixture into the joints with a brush.
- Leave on for 20 minutes, rinse with water and dry the surface well.
For a more potent effect, combine it with the juice of a lemon.
Removing mold and mildew from joints with hydrogen peroxide
In addition to disinfecting wounds, this product is ideal for eliminating excess dust, mildew, bacteria and germs accumulated in tile joints. Here are the steps to use it:
- In a spray bottle, spray hydrogen peroxide into the grooves you wish to clean.
- Scrub it with a brush or sponge intensely.
- Let it act for 25 minutes and remove with a cloth soaked in soap and water.
Bleaches stains in joints with bleach or bleached bleach
Bleach is the old reliable when it comes to both bleaching and disinfecting. Although it is a bit more aggressive and the odor is more severe than the above, it is a fairly effective alternative for removing mildew and stained areas from tiles.
- Dilute 30 ml of bleach in half a liter of hot water.
- Pour a little into the tile joints with a sprayer or sponge.
- Allow it to act for 10 minutes, rub again with a brush, rinse and dry.
Remember never to mix ammonia and bleach, as it is a combination that generates toxic fumes that are very unhealthy!
Deep cleans with ammonia
If the surface you want to disinfect is very dirty and full of grease, ammonia can be the perfect solution that will give you the results you are looking for. It is ideal for deep cleaning of floors and walls and to recover their initial color.
- Mix equal parts hot water and ammonia in a container.
- Apply it on the joints and rub hard on the joints to soften the encrusted dirt.
- Rinse with plenty of water and wipe the area with a cloth.
Attention! We recommend to be careful when handling this chemical as it can cause allergies and irritations. Ventilate the area to avoid dizziness, wear gloves and a mask.
And if nothing works, what to do?
And if none of the above tricks gave satisfactory results, DIY professionals recommend repairing, renovating or filling the joints in the floor and walls of the bathroom and kitchen. You can do it yourself by applying a coat of grout or contact an expert in this type of work.
To do this, you can choose to prepare ahomogeneous paste with cement or epoxy resin and apply it to the area and smooth diagonally to the joints with a masonry tool. Then, wait for it to dry completely and remove the excess from the tiles with a damp sponge.