
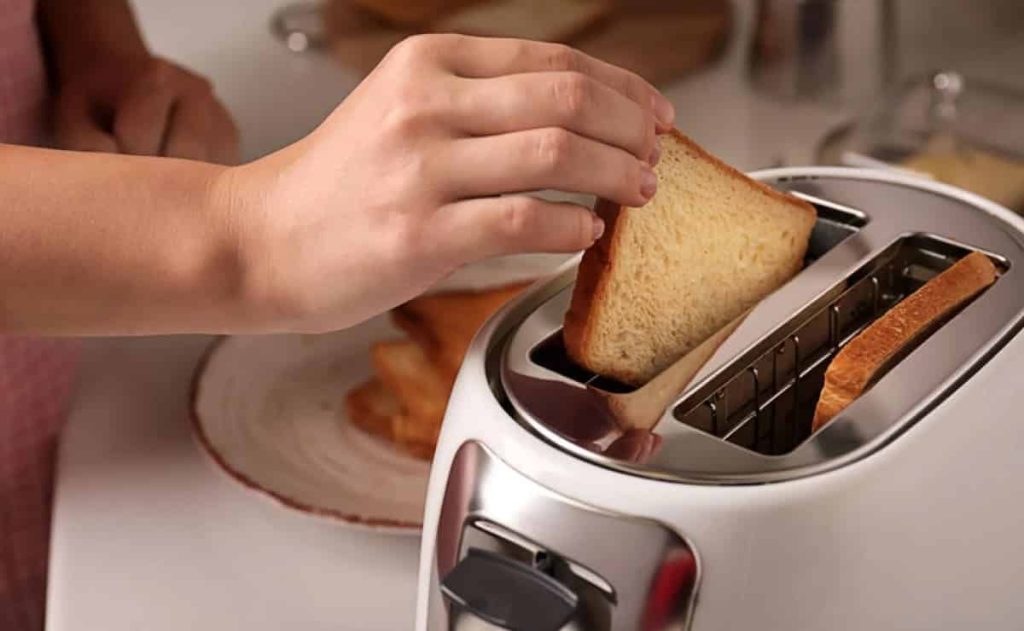
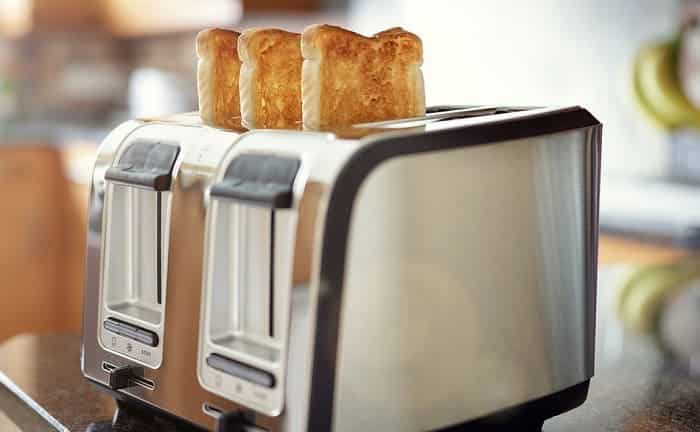
Toasters are traditional and extremely practical appliances in the kitchen. They take up little space, are economical, and not mention how quickly they toast bread and give them that delicious crunchy touch! No mess, no time, and no effort. However, burnt residues always remain inside – especially crumbs or butter – and, just as the coffee maker or any other household appliance must be cleaned, it is necessary to do the same with the toaster so that it does not break down prematurely and does not become a tourist attraction for unwanted insects.
Due to its structure, cleaning the grooves and removing the residues left inside thoroughly is somewhat complicated. Still, nothing so complicated that this effective home trick can’t solve. Here, we will explain how to clean a toaster properly and make it as good as new in a couple of easy steps and affordable products.
How to clean vertical or horizontal toaster
Do you remember when the last time was? One, two, three weeks, and even months! Many of us think “How lazy!” or “I’ll do it later!” And so time goes by without doing it. Could you not put it off any longer? Cleaning a toaster is easier than you think.

First, look at the manufacturer’s maintenance recommendations in the instruction manual. There is no other professional who knows more than the person who has developed the appliance.
- Once this is done, the first step is to disconnect it from the electric current. Although it may seem redundant and somewhat “obvious,” you would be surprised at the number of accidents that have occurred because of not doing it before starting the cleaning.
- Remove the crumb tray: You probably don’t know it, but most toaster models have a tray at the base that collects the crumbs as they fall out. Take it out and wash it with a sponge soaked in dishwashing detergent, a few drops of vinegar, and a tablespoon of baking soda. Rub to remove any residue and then dry it carefully with a clean cloth so that it is not affected by moisture.
- Clean the inside of the toaster: To remove the rest of the crumbs, turn over and shake gently, tapping the sides to remove residue. Then, remove the stuck crumbs by rubbing the grids with a toothbrush towards the bottom of the toaster. Finally, turn it upside down again and remove any crumbs lose.
- Don’t forget to clean the exterior as well: moisten a sponge with a solution made of 3 parts vinegar to 1 part water, wipe the exterior, then wipe with a damp cloth to remove the residue and finally dry and enjoy a clean and disinfected toaster.
Note: This procedure works well to clean stainless steel toasters easily, quickly and safely.
Without a doubt, the maintenance of a toaster will take you no more than 15 minutes and requires minimum effort and dedication. Besides, you don’t need to spend on expensive products, but with the help of homemade allies such as vinegar -which also has antibacterial properties-this will be a piece of cake. Well-toasted bread!